by Igor | Jul 7, 2015 | Odoo
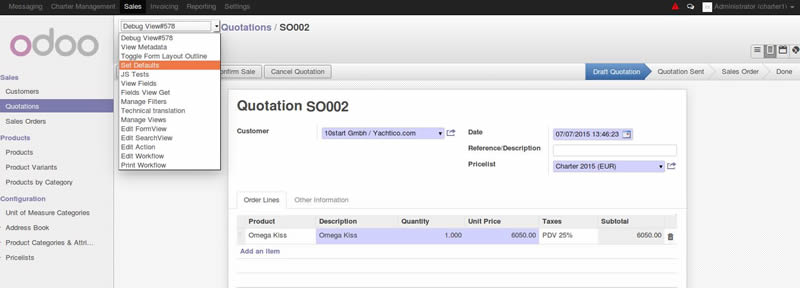
To set default value for a field in Odoo interface you have to activate the ‘developer mode’.
- Click on your name on the upper right corner
- Click on ‘About OpenERP’
- Click on ‘Activate the developer mode’
After that you should see a selection box on the top of each form.
Enter default value in a field and choose ‘Set Defaults’ from developer selection box.
You can also choose if it is default value to all users or only to you.
by Igor | Jun 23, 2015 | Linux, Odoo, Programming
It is possible to work on the local computer (workstation) with Ubuntu, local virtual machine or in a server over the network.
I prefer to do the development work in my personal workstation, using my favorite text editor or IDE.
So this is my development setup:
VirtualBox + Ubuntu + PyCharm
VirtualBox works on Linux, Windows and OS X so i can move VM’s from one platform to another.
The assumption is that you have installed Ubuntu desktop.
You can download and install Ubuntu from this location:
http://www.ubuntu.com/download/desktop/thank-you/?version=14.04.2&architecture=amd64
You can download and install VirtualBox from this location:
https://www.virtualbox.org/wiki/Downloads
The Ubuntu installation process has already guided you in the creation of a user.
You will use that user to setup you development environment.
First, make sure you are logged in as the user created during the installation process, and not as root.
Assuming your user is netjunky:), you can confirm your home directory and user with the following commands:
echo $HOME
whoami
Now we can install Odoo directly from the GitHub repository and install our favorite IDE.
1.) Install system updates
sudo apt-get update && apt-get upgrade -y
2.) Install Git
sudo apt-get install git -y
3.) Install PostgreSQL Server
sudo apt-get install postgresql -y
4.) Install Python dependencies
sudo apt-get install python-dateutil python-feedparser python-ldap python-libxslt1 python-lxml python-mako python-openid python-psycopg2 python-pybabel python-pychart python-pydot python-pyparsing python-reportlab python-simplejson python-tz python-vatnumber python-vobject python-webdav python-werkzeug python-xlwt python-yaml python-zsi python-docutils python-psutil python-mock python-unittest2 python-jinja2 python-pypdf python-decorator python-requests python-passlib python-pil python-pip -y
5.) Create a directory to work in. This will create work directory for your projects ~/projects/odoo-dev
mkdir ~/projects
mkdir ~/projects/odoo-dev
6.) Go into our work directory
cd ~/projects/odoo-dev
7.) Get Odoo source code from gitub (-b option asks to explicitly download the 8.0 branch of Odoo)
git clone https://github.com/odoo/odoo.git -b 8.0
8.) Install Odoo system dependencies. Just one more check with odoo.py script. I did not bother to investigate but if you try to run this command before step 4. you will get errors about missing python dependencies.
./odoo/odoo.py setup_pg
9.) Create PostgreSQL superuser
./odoo/odoo.py setup_pg
10.) Install wkhtml and place on correct place for Odoo
sudo wget http://downloads.sourceforge.net/project/wkhtmltopdf/archive/0.12.1/wkhtmltox-0.12.1_linux-trusty-amd64.deb
sudo dpkg -i wkhtmltox-0.12.1_linux-trusty-amd64.deb
sudo cp /usr/local/bin/wkhtmltopdf /usr/bin
sudo cp /usr/local/bin/wkhtmltoimage /usr/bin
sudo rm -rf wkhtmltox-0.12.1_linux-trusty-amd64.deb
To start an Odoo server instance, just run odoo.py:
~/projects/odoo-dev/odoo/odoo.py
Odoo server is ready and we can now install PyCharm or some other favorite text editor or IDE.
To install PyCharm community edition:
sudo wget -q -O - http://archive.getdeb.net/getdeb-archive.key | sudo apt-key add -
sudo sh -c 'echo "deb http://archive.getdeb.net/ubuntu $(lsb_release -sc)-getdeb apps" >> /etc/apt/sources.list.d/getdeb.list'
sudo apt-get update
sudo apt-get install pycharm -y
Run PyCharm
cd /usr/share/pycharm/bin
./pycharm.sh
Or you can skip all the steps and run this script:)
https://gist.github.com/netjunky-hub/ac65b479fc4a306ae6bc
Make sure you are not using root (don’t use sudo to run the script).
WARNING!
Script will download and configure Odoo, remove Libre office and install Apache Open Office, install useful tools like meld, pgadmin3 and poedit, download and install Odoo templates for PyCharm, create directories for custom config and custom addons.
You can adjust script to fits your needs.
Happy coding:)
by Igor | Jun 18, 2015 | Odoo, Programming
When you’re developing custom module or working on Python code, Odoo server needs to be restarted on every code change.
To make your life easier auto reload Odoo server after Python code change.
Option –auto-reload monitors the source code and automatically restart Odoo server if changes are detected.
Example of usage:
./odoo.py -d test_database --auto-reload
This is a Linux-only feature.
The pyinotify Python package is required, and it should be installed either through apt-get or pip:
Using apt-get:
sudo apt-get install python-pyinotify
Using pip:
pip install pyinotify
https://github.com/seb-m/pyinotify/wiki
Warning:
If you use PyCharm or some other IDE with auto save, disable auto save before using –auto-reload option.
Happy coding…
by Igor | Jun 12, 2015 | Programming
I’ve recently had to query the status of EC2 instances and then be able to controlling them as required.
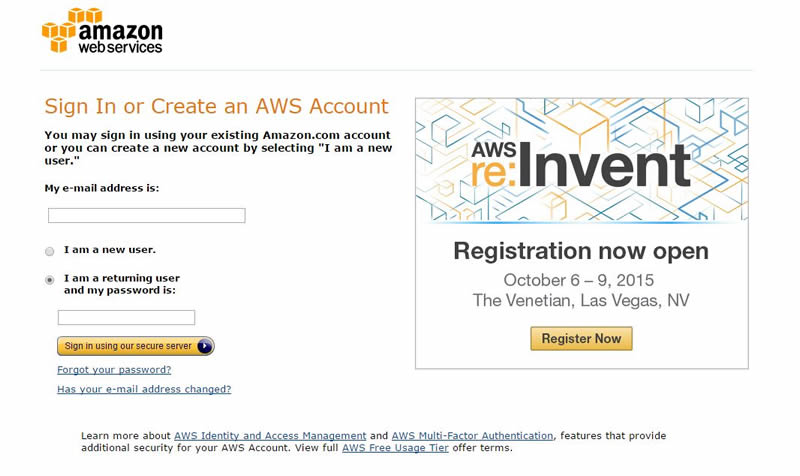
1.) Create Amazon free account or use your existing Amazon AWS account.
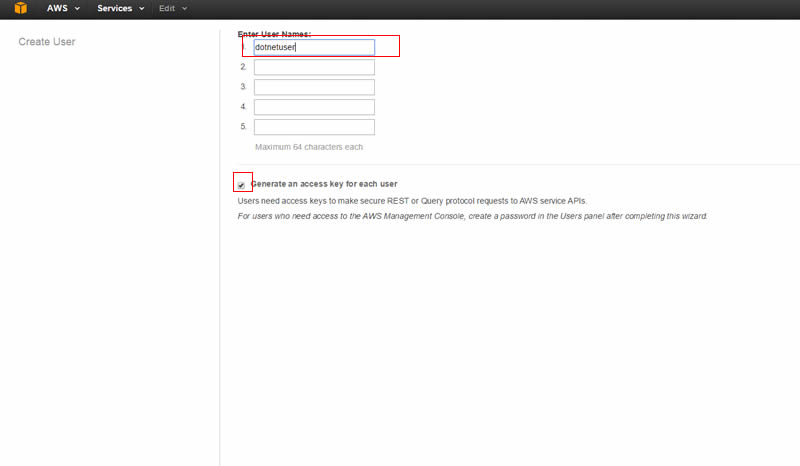
2.) Create new user for your application (for example dotnetuser).
Select Your Accoutnt / Security Credentials from main menu and create new user.
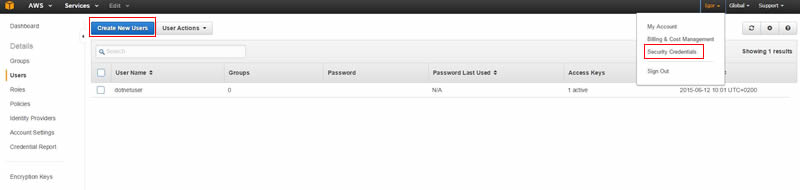
Don’t forget to save access key id and secret key.
You will use them to connect to AWS.
3.) Download and install AWS SDK for .NET.
More info about AWS SDK:
http://docs.aws.amazon.com/AWSSdkDocsNET/latest/DeveloperGuide/net-dg-setup.html
4.) You are ready to write code. Create blank console application and add reference to AWS SDK.
AWS SDK is installed usually on this location:
C:\Program Files (x86)\AWS SDK for .NET\bin\Net45
Required usings:
using Amazon;
using Amazon.EC2;
using Amazon.EC2.Model;
using Amazon.SimpleDB;
using Amazon.SimpleDB.Model;
using Amazon.S3;
using Amazon.S3.Model;
using Amazon.Runtime;
Copy this code into you Main function and change credentials with yours:
Amazon.Util.ProfileManager.RegisterProfile("dotnetuser", "access_key_id", "secret_key");
AWSCredentials credentials = new StoredProfileAWSCredentials("dotnetuser");
Using RegisterProfile can cause runtime problems (Thanks to Pavel Safronov)
http://blogs.aws.amazon.com/net/post/Tx3VJIHQF8Q0YSX/RegisterProfile
You can access your profile by specifying it in app.config/web.config file
<configuration>
   <appSettings>
      <add key="AWSProfileName" value="profile-name"/>
   </appSettings>
</configuration>
Or explicitly
var credentials = new Amazon.Runtime.StoredProfileAWSCredentials("profile-name");
Define region and create EC2 client:
RegionEndpoint re = RegionEndpoint.USWest2;

IAmazonEC2 ec2 = AWSClientFactory.CreateAmazonEC2Client(credentials,re);
DescribeInstancesRequest ec2Request = new DescribeInstancesRequest();
//This code will start your EC2 instance.

StartInstancesRequest startRequest = new StartInstancesRequest();
//change instance id
startRequest.InstanceIds.Add("i-4d2213bb");
ec2.StartInstances(startRequest);

//This code will stop your EC2 instance.

StopInstancesRequest stopRequest = new StopInstancesRequest();
//change instance id
stopRequest.InstanceIds.Add("i-4d2213bb");
ec2.StopInstances(stopRequest);
That’s all folks!
by Igor | Jun 12, 2015 | Windows
Usually you set up your PCs proxy settings via browser settings (Firefox, Internet Explorer, Chrome…).
Microsoft gave us an alternative option to configure proxy server settings.
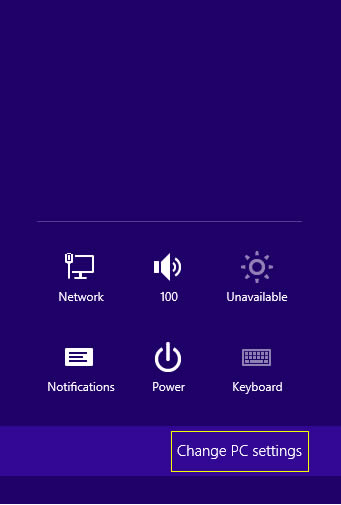
First bring up the charms bar by pointing the mouse cursor to the bottom-right corner of your computer screen.
You can also use Keyboard shortcut – Win+C.

Choose ‘Settings’ icon and select the ‘Change PC Settings’ option.
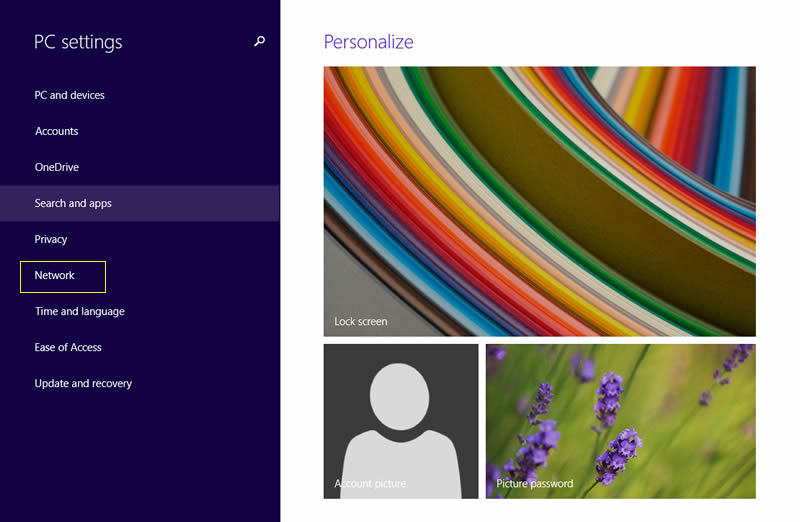
Choose ‘Network’ from left menu.
Choose “Proxy” from left menu. Turn on “Use a proxy server” option and enter proxy server IP address and port.
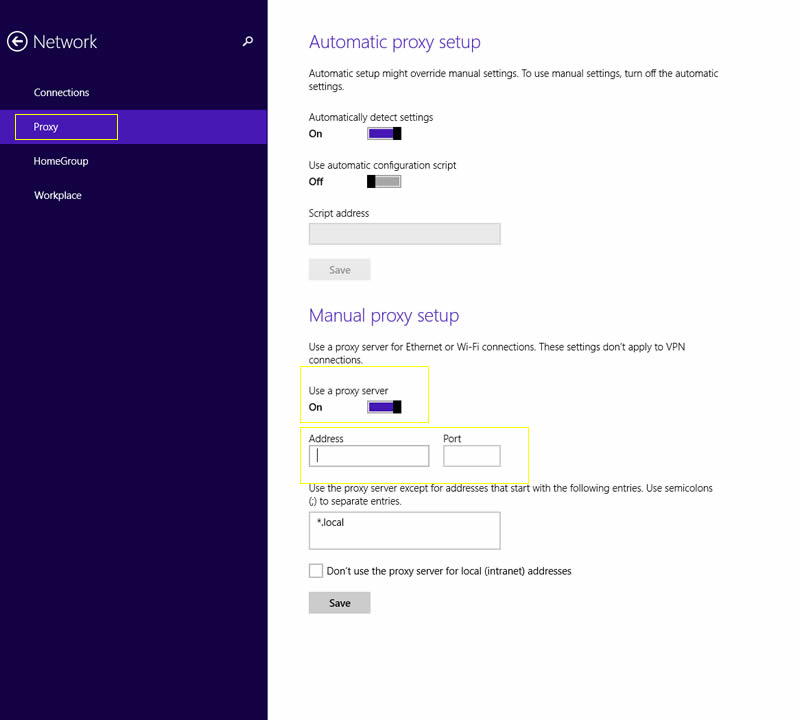
Go to http://whatismyipaddress.com/ and check your new IP address.
It’s a welcome enhancement to the latest OS from Microsoft.

Recent Comments