What’s new and cool in Odoo 9
From the Odoo Experience 2015.
From the Odoo Experience 2015.
Odoo 9 community vs. enterprise features. Document is still in draft.
| Services | Odoo 8 | Odoo 9 Community | Odoo 9 Enterprise |
| Community Forum | X | X | X |
| Upgrades to future versions | / | / | X |
| Bugfixes Guarantee | / | / | X |
| Support | / | / | X |
| Features | Odoo 9 Community | Odoo 9 Enterprise | |
| Accounting | |||
| Basic Accounting | X | Improved | Improved |
| Accounting Reports | static | static | dynamic |
| Statement Import: Coda | X | Improved | Improved |
| Accounting Dashboard | / | X | X |
| Bank Interfaces (U.S., NZ, Canada) | / | / | X |
| Statement Import: OFX, QIF | / | X | X |
| Check Printing & Deposit | / | / | X |
| Customer Follow-ups | basic | basic | Improved |
| User Interface | |||
| Desktop | X | Improved | Improved |
| Android CRM | / | X | X |
| Mobile UI | / | / | X |
| New Design | / | / | X |
| Project Management | |||
| Tasks | X | Improved | Improved |
| Issues | X | Improved | Improved |
| Timesheets | Former version | Improved | Improved |
| Timesheet Chrome plugin & mobile app | / | / | X |
| Forecasts | / | / | X |
| Sales Management | |||
| CRM | X | Improved | Improved |
| Sales | X | Improved | Improved |
| Contracts | Former version | Improved | Improved |
| Customer Portal | X | X | Improved |
| eSignature | / | / | X |
| Subscriptions | / | / | X |
| Digital products | / | X | X |
| Human Resources | |||
| Holidays | X | Improved | Improved |
| Employee Directory | X | Improved | Improved |
| Recruitments | X | Improved | Improved |
| Appraisals | Former version | Improved | Improved |
| Departments Dashboard | / | X | X |
| WMS | |||
| Inventory Management | X | Improved | Improved |
| Barcode support | Former version | Improved | Improved |
| Integration with UPS, Fedex, DHL, USPS | / | / | X |
| Inter-company rules | / | X | X |
| Website Builder | |||
| Website Builder | X | Improved | Improved |
| Blog | X | Improved | Improved |
| Form builder | / | / | X |
| Call-to-Actions Blocks | / | / | X |
| Versioning | / | X | X |
| A/B Testing | / | X | X |
| eCommerce | |||
| Full eCommerce | X | Improved | Improved |
| Authorize.net integration | / | X | X |
| Shipping Integration | / | / | X |
| eBay Connector | / | / | X |
| Amazon Connector | / | / | X |
| Coupons | / | / | X |
| Point of Sale | |||
| Point of Sale | X | X | X |
| Point of Sale for Restaurants | / | X | X |
| Loyalty cards | / | / | X |
| Marketing | |||
| Events | X | Improved | Improved |
| Expenses | X | Improved | Improved |
| Mass mailing | X | Improved | Improved |
| Mass Mailing Templates | / | / | X |
| Live Chat | X | Improved | Improved |
| Misc | |||
| Usability improvements | / | X | X |
| Google Spreadsheet | X | X | X |
| Document Management (slides) | / | X | X |
| Planner (first weeks onboarding) | / | X | X |
| Reporting | X | Improved | Improved |
Odoo 9 Feature Split – OpenCore pdf version.
How to create your own squid proxy server on CentOS
Squid is a proxy server for caching and filtering web content .
Squid proxy service will cache the requested web-content and re-using it for the further request of the same content.
You can also hide your real IP with squid and access content usually forbidden for your country or IP address.
Requirement is that you have already installed your CentOS server.
1.) Connect with putty to install and configure squid
yum update
yum install squid
cd /etc/squid3
Make backup of default configuration just in case…
cp squid.conf squid.conf.bak
Remove default configuration
rm -rf squid.conf
Create and open new configuration in nano (you can use any other editor)
nano squid.conf
Paste this 2 lines of code into your new configuration file
http_access allow all
http_port 20000
Save configuration
6.) Start squid service
service squid start
7.) To check your connection use telnet IP on port defined in your squid configuration.
In this case 20000
telnet IP 20000
Your proxy server is ready if your connection was successiful.
Setup your OS to use this proxy server and go to http://whatsmyip.org to check your new IP address.
Don’t forget to open port 20000 on your server firewall.
Check this article to configure squid on Ubuntu:
http://netjunky.net/how-to-create-your-own-squid-proxy-server-with-azure/
How to create your own squid proxy server with Azure and Ubuntu OS.
Squid is a proxy server for caching and filtering web content .
Squid proxy service will cache the requested web-content and re-using it for the further request of the same content.You can also hide your real IP with squid and access content usually forbidden for your country or IP address.
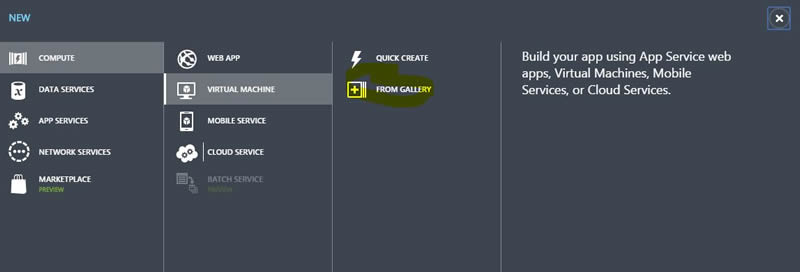
1.) Sign in to your Azure Portal and create VM
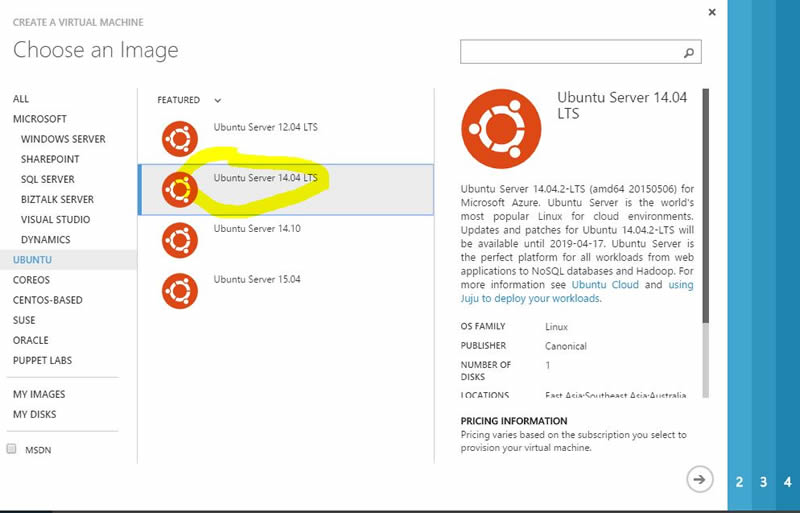
2.) Choose Ubuntu Server 14.04 LTS
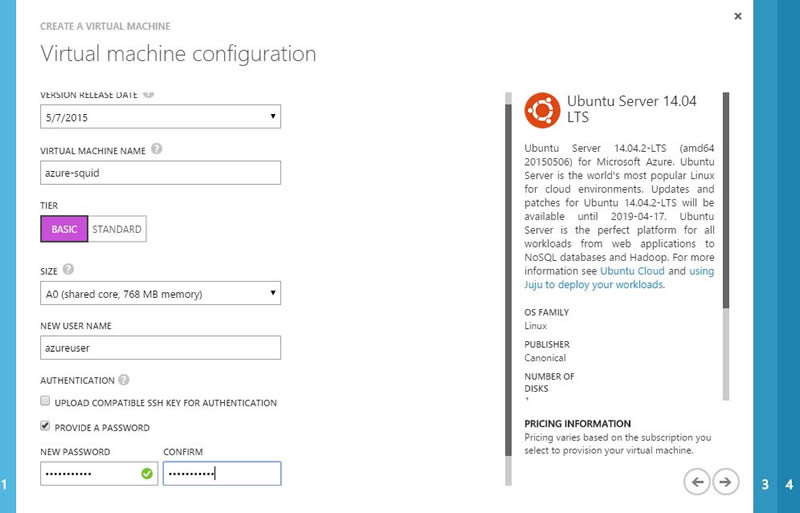
3.) Configure your VM
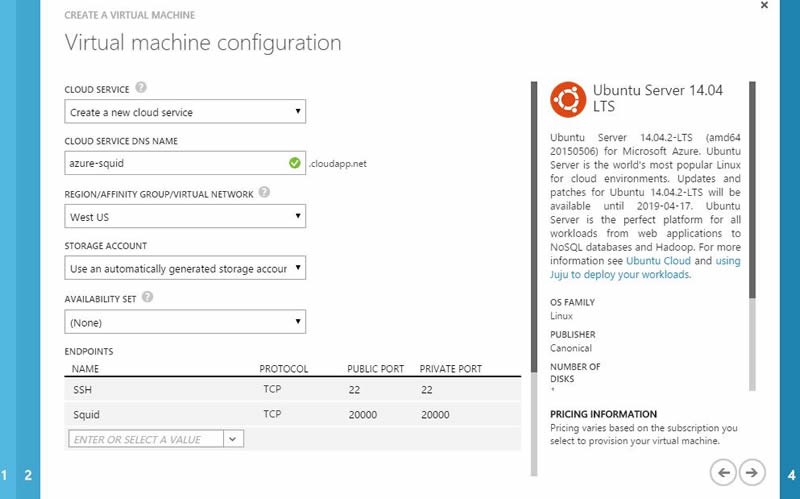
4.) Create endpoint higher then 1024 for example 20000
5.) Connect with putty to install and configure squid
sudo apt-get install squid -y
cd /etc/squid3
Make backup of default configuration just in case…
sudo cp squid.conf squid.conf.bak
Remove default configuration
sudo rm -rf squid.conf
Create and open new configuration in nano (you can use any other editor)
sudo nano squid.conf
Paste this 2 lines of code into your new configuration file
http_access allow all
http_port 20000
Save configuration
6.) Restart squid service
sudo service squid3 restart
7.) To check your connection use telnet IP on port defined in your squid configuration.
In this case 20000
telnet IP 20000
Your proxy server is ready if your connection was successiful.
Setup your OS to use this proxy server and go to http://whatsmyip.org to check your new IP address.
First thing is to remove the already installed versions of either openoffice and libreoffice:
$ sudo apt-get remove libreoffice* openoffice*
$ sudo apt-get autoremove
Next, we will download openoffice, extract the archive and install the deb packages:
$ wget sourceforge.net/projects/openofficeorg.mirror/files/4.1.1/binaries/en-US/Apache_OpenOffice_4.1.1_Linux_x86_install-deb_en-US.tar.gz
$ tar -xzvf Apache_OpenOffice_4.1.1_Linux_x86_install-deb_en-US.tar.gz
$ cd en-US/DEBS
$ sudo dpkg -i *.deb
$ cd desktop-integration
$ sudo dpkg -i *.deb
First thing is to remove the already installed versions of either openoffice and libreoffice:
$ sudo apt-get remove libreoffice* openoffice*
$ sudo apt-get autoremove
Next, we will download openoffice, extract the archive and install the deb packages:
$ wget sourceforge.net/projects/openofficeorg.mirror/files/4.1.1/binaries/en-US/Apache_OpenOffice_4.1.1_Linux_x86-64_install-deb_en-US.tar.gz
$ tar -xzvf Apache_OpenOffice_4.1.1_Linux_x86-64_install-deb_en-US.tar.gz
$ cd en-US/DEBS
$ sudo dpkg -i *.deb
$ cd desktop-integration
$ sudo dpkg -i *.deb
Optional to remove Apache OpenOffice 4.1.1 on either 32 bit or 64 bit Ubuntu and Debian, do
$ sudo apt-get remove openoffice*
To start OpenOffice 4.1.1 from terminal use
$ openoffice4
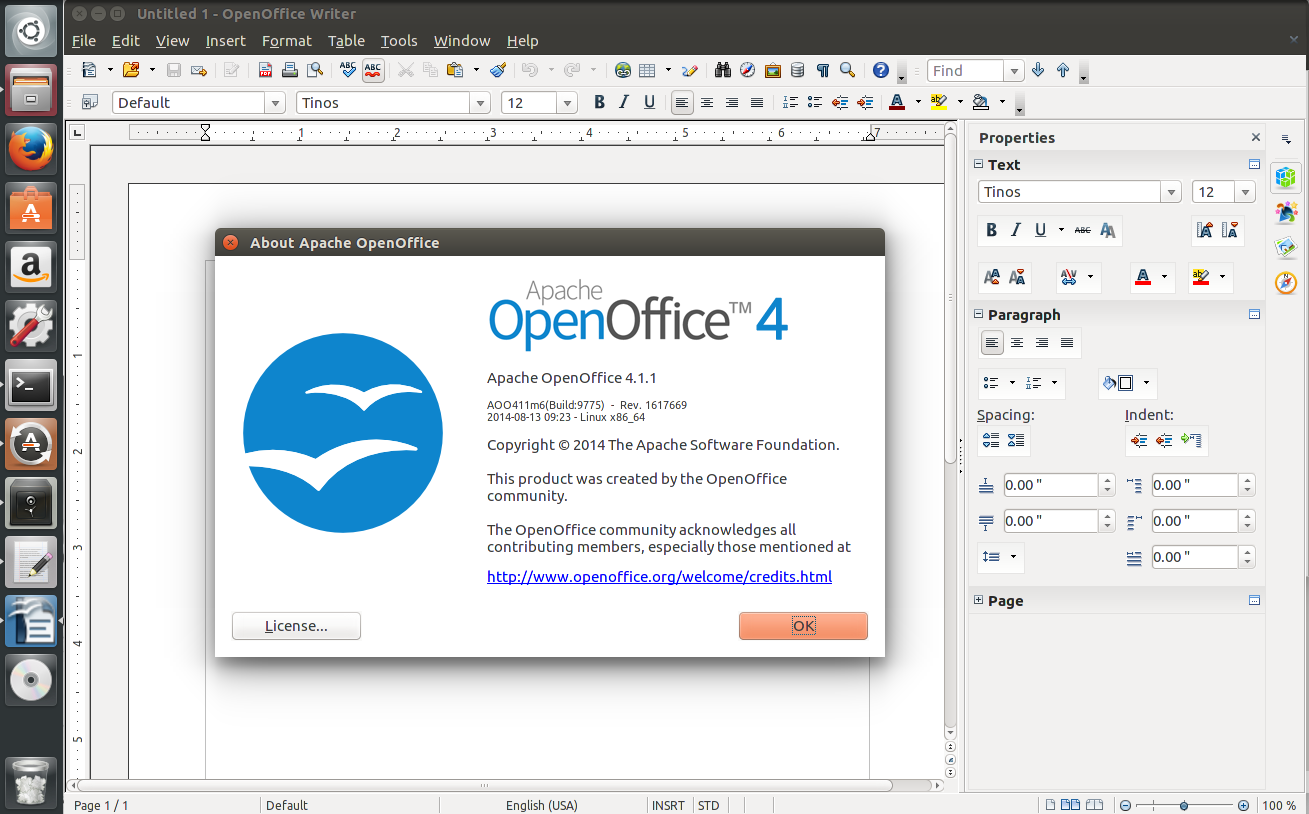
That’s it!
Recent Comments